

Replacing Blender Parts for Longevity
So, my blender’s supposed to “run smoothly,” but half the time it sounds like it’s chewing gravel. Is it the jar? The drive coupling? Who knows, honestly. Letting worn parts slide never ends well: you slow the motor, food gets chunky, and suddenly you’re ordering parts online instead of making dinner. Been there.
Identifying Worn or Damaged Parts
Every time I look at my blender, I see another tiny crack creeping up the jar. I always tell myself I’ll deal with it later, but of course I never do, so leaks just get worse. And the drive coupling—that little rubber disc under the jar? If you yank the jar off before the blade stops spinning, you’ll chew through it in no time. Nobody tells you that, except maybe buried in maintenance PDFs, which I never read unless I’m desperate. Manufacturers won’t say how dull is “too dull,” but if you see chips, nicks, or the blade wobbles, just replace it. Some café owner once bragged they swap blades every six months, but their “heavy use” is like, ginger for hours. I call nonsense. If I see rust, black gunk by the gasket, or a warped lid, I just bin it. I set a calendar alert called CRACK HUNT (all caps, obviously) or I’d forget every time.
Choosing High-Quality Replacement Blades
I’ve bought those “universal” blades off random sites—never again. They seized up and almost set the blender on fire. Guessing it’s bad metal or just doesn’t fit right. Now I stick to OEM or at least brands with decent reviews—Waring, Vitamix, Blendtec, whatever matches the model. A repair guy once told me, “Would you use dollar-store brake pads?” and honestly, point taken. I want stainless steel, food-safe, dishwasher safe, bare minimum. If the part number doesn’t match, expect leaks or weird pulpy disasters. I don’t buy into “titanium” or “coated” hype—at home, it’s all marketing. I’ll skim specs and real photos from people who blend as much as I do. If the blade looks good after a hundred smoothies, I’m sold. Otherwise, back to scraping yogurt with a spoon. For more random tips, Green Kit Home has a list of replacement hacks, which is actually not bad, even if you’re not making cement cocktails.
Proper Assembly and Disassembly Tips
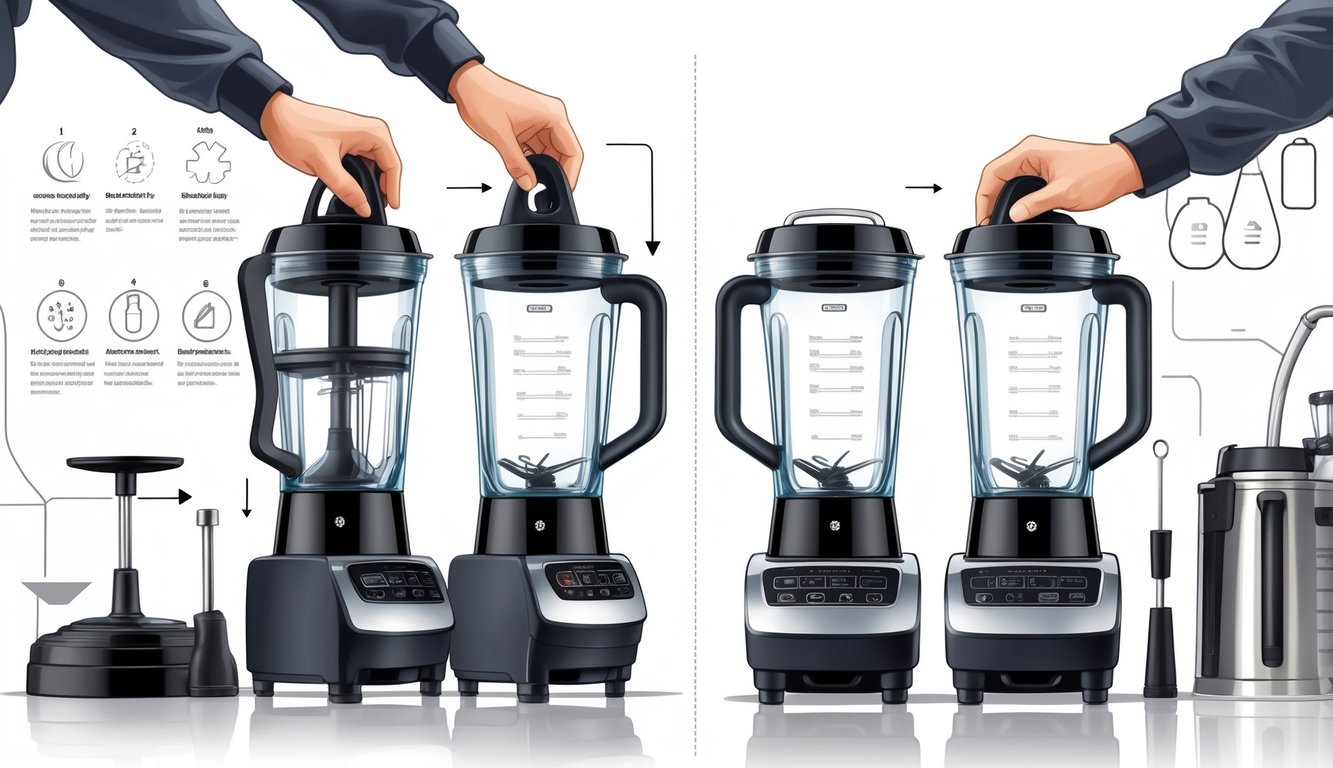
Why do blenders always turn into a wrestling match? “User-friendly” is a lie when you’re digging gunk out of threads or trying to find that one gasket that always vanishes. One crooked jar and suddenly it’s screeching like it’s begging for retirement. I’m not tossing a perfectly good pitcher just because breakfast went sideways.
Avoiding Common Assembly Mistakes
You ever slap the lid on backwards, or screw the base on crooked, then wonder why it leaks? Happens to everyone. No tight fit, guaranteed mess. Manuals? Please. Most people toss them, then complain about weird smells months later. According to Juicer Hunter, missing the lock position kills your blender faster than you’d think. You have to line up the jar and base, wait for that tiny click, and double-check the sealing ring (that little thing under the blade you always forget about). Ignore this, and the motor grinds itself to death. Silicone rings? They curl up if you store them wet—learned that the hard way after leaving one on a damp shelf.
Safely Removing and Attaching Blades
Blades are always out for blood—mine, specifically. People act like you just twist the bottom assembly off, but after a few dishwasher runs, those washers clamp down like they’re welded. I use a folded towel to keep my hands intact. One guide I read (here, if you’re curious) says to flip the pitcher upside down and twist base and blade in opposite directions. Weirdly, it works. After a deep clean, a dab of food-grade lube on the rubber grommets makes reassembly way easier (saw it at a demo, never looked back). I’ve put blades in backwards and wondered why it jammed—don’t do that. If it sounds like metal on metal, you probably missed a washer or overtightened something. No troubleshooting manual covers that, for some reason.